| RedHat Linux >> Server Administration for Redhat Linux
|
| [목차] |
|
제5장 Apache Web 서버
16. Apache2+SSL 설치하기 1. 설치전 준비사항 mod_ssl을 설치하기 위해서 openssl를 먼저 설치해야 한다. # yum install openssl openssl-devel 아파치 웹서버는 해당사이트에서 다운로드 한다. apache 2.x 에는 기본적으로 mod_ssl 모듈이 포함되어 있다. 2. 아파치 설치하기 서버의 특정 디렉토리에 업로드 후, 압축을 푼다. [root@www apm]# tar xvfz httpd-2.2.22.tar.gz [root@www apm]# cd httpd-2.2.22 DSO 방식 아파치 컴파일시 주요 옵션에 대한 설명은 다음과 같다. ./configure --prefix=/web/httpd (설치경로지정) --enable-mods-shared=most (부트스크리핑so모듈 외 모두 활성) --enable-shared=max (모든 모듈 활성화) --enable-modules=so (mod_so 사용 활성화 DSO에 필수) --with-mpm=worker (다중프로세스모듈중 worker 지원) --enable-rule=SHARED_CORE는 DSO(Dynamic Shared Objects 동적공유객체)를 사용할수 있는 형태로 Apache를 컴파일 하도록 하는 일종의 규칙. 이 옵션을 지정해 주면 DSO로 컴파일된 아파치에서 제공하지 않는 외부 모듈들을 선택적으로 사용할수 있게 된다. [root@www httpd-2.2.22]# ./configure --prefix=/web/httpd --enable-modules=so --enable-mods-shared=all --enable-modules=shared --enable-ssl --enable-rewrite [root@www httpd-2.2.22]# make [root@www httpd-2.2.22]# mv /web/httpd/conf/httpd.conf /web/httpd/conf_20120601 [root@www httpd-2.2.22]# make install 3. key / csr / crt 값생성 가. key생성 관리를 위해 키파일을 모아놓을 디렉토리 생성한다. [root@www httpd-2.2.22]# cd /web/httpd/ [root@www httpd]# mkdir conf/ssl openssl명령을 통해 key를 생성한다.
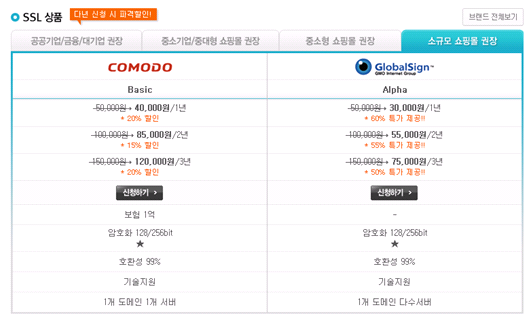
[root@www httpd]# cd conf/ssl/ [root@www ssl]# openssl genrsa -des3 2048 > /web/httpd/conf/ssl/leelab.key Generating RSA private key, 2048 bit long modulus .......++++++ ........................................++++++ e is 65537 (0x10001) Enter pass phrase: (암호입력) Verifying - Enter pass phrase: (암호입력) [root@www ssl]# ls leelab.key [root@www ssl]# 나. csr생성 key를 받아서 csr생성시 아래와 같이 실행한다. [root@www ssl]# openssl req -new -key /web/httpd/conf/ssl/leelab.key > /web/httpd/conf/ssl/leelab.csr Enter pass phrase for /web/httpd/conf/ssl/leelab.key: You are about to be asked to enter information that will be incorporated into your certificate request. What you are about to enter is what is called a Distinguished Name or a DN. There are quite a few fields but you can leave some blank For some fields there will be a default value, If you enter '.', the field will be left blank. ----- Country Name (2 letter code) [XX]:KR State or Province Name (full name) []:Junbuk Locality Name (eg, city) [Default City]:Kunsan Organization Name (eg, company) [Default Company Ltd]:LeeLab Organizational Unit Name (eg, section) []:SM Team Common Name (eg, your name or your server's hostname) []:www.leelab.co.kr Email Address []:l****@kunsan.ac.kr Please enter the following 'extra' attributes to be sent with your certificate request A challenge password []:(엔터) An optional company name []:(엔터) [root@www ssl]# [root@www ssl]# ls leelab.csr leelab.key 다. 인증서 신청 ssl인증기관에 인증서 신청시 필요한 과정 중 csr값을 입력해야 한다. 가비아나 기타 인증서를 발급하는 기관을 통해 신청한다. 다음은 가비아에서 소형 쇼핑몰을 운영시 제공하는 SSL보안 상품에 대한 가격이다. 규모에 따라 선택하여 신청하면 된다.
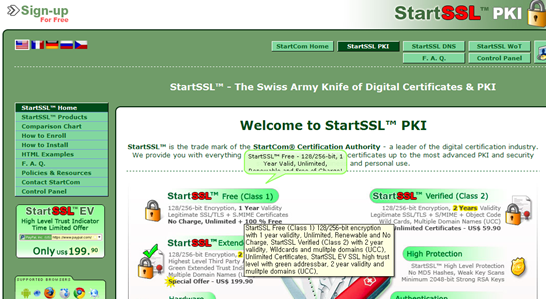
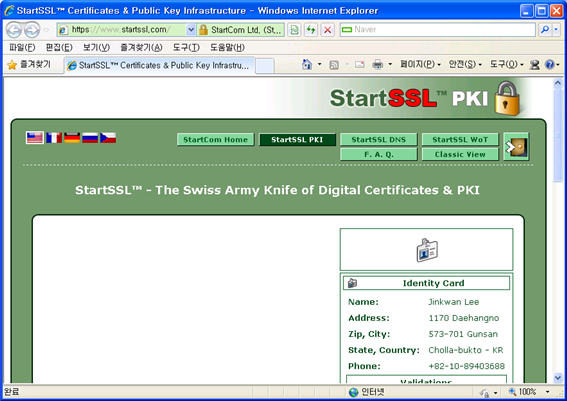
실습을 위해 무료서버인증서 발급기관에서 발급하여 설치하여 보자. 보안서버를 구축하기 위해서는 신뢰할수있는 root CA가 발급한 인증서가 필요하다. 무료로 보안서버를 구축하기 위해서는 인증서가 필요한데 startssl 사이트에서 인증서를 발급받아서 사용가능합니다. startssl 사이트에 방문해서 몇가지 절차를 거치면 보안서버에 사용가능한 인증서가 발급 된다. 웹브라우저를 통해 위의 사이트에 접속한다.
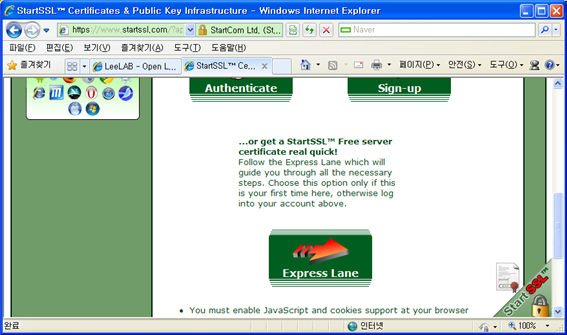
좌측메뉴에서 Control Panel을 클릭한다.
아래의 Express Lane를 클릭한다.
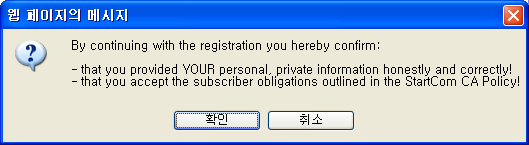
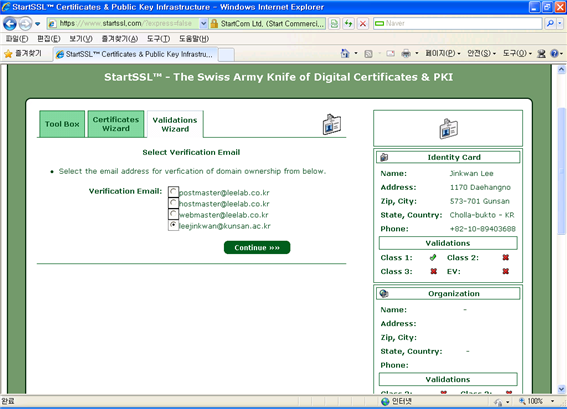
Continue를 클릭한다.
확인을 클릭한다.
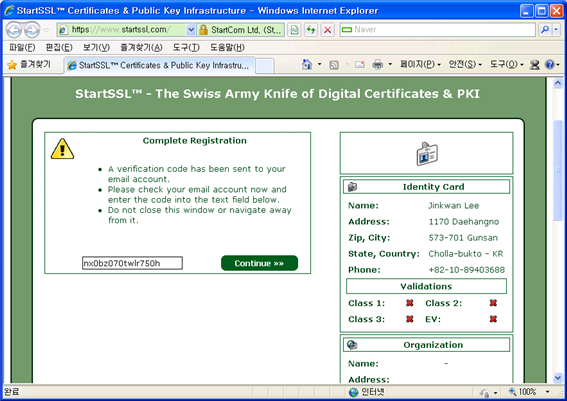
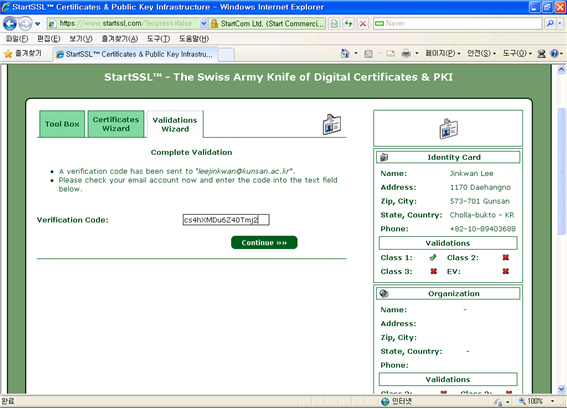
메일을 확인하면 인증코드가 도착했을 것이다. 그것을 복사하여 위의 Editbox에 붙여넣고, continue를 클릭한다.
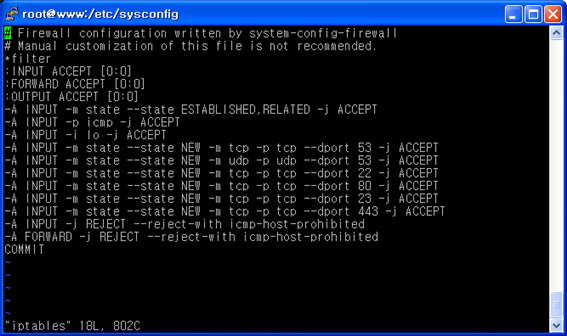
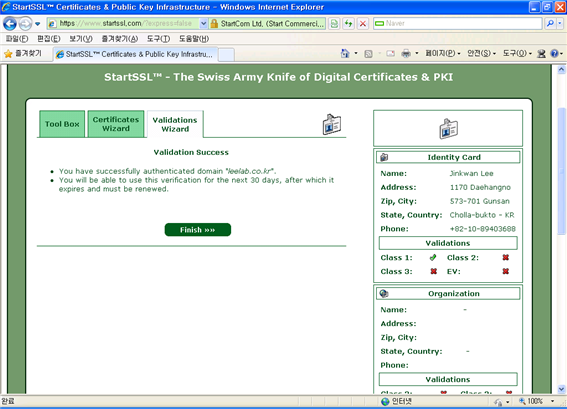
Continue를 클릭한다. 잠시후, 요청이 완료된 화면이 나타나고, 다시 홈페이지로 이동한다. 바로 인증서를 발급할 수 있는 것은 아닌 것 같고, 심사를 통해 제공하는 것 같다. 인증서를 신청하는 절차는 인증기관에 따라 다소 차이가 있다. 해당 사이트를 참고하기 바란다. # cat /web/httpd/conf/ssl/leelab.csr 첫줄과 -----BEGIN NEW CERTIFICATE REQUEST----- 끝줄 -----END NEW CERTIFICATE REQUEST----- 까지 포함하여 복사후 메모장에 붙여넣기한후 해당파일을 ssl 인증기관업체에 신청하면 된다. 라. 임시 crt 생성 테스트를 위해 서버 자체에서 임시 인증서를 생성하여 테스트 해보자. [root@www ssl]# openssl req -x509 -days 365 -key /web/httpd/conf/ssl/leelab.key -in /web/httpd/conf/ssl/leelab.csr > /web/httpd/conf/ssl/leelab.crt Enter pass phrase for /web/httpd/conf/ssl/leelab.key:(암호) [root@www ssl]# 마. 아파치 설정 다음과 같이 apache를 설정한다. [root@www ssl]# cd /web/httpd/conf/extra/ [root@www extra]# [root@www extra]# vi httpd-ssl.conf AddType application/x-x509-ca-cert .crt AddType application/x-pkcs7-crl .crl <IfModule mod_ssl.c> SSLPassPhraseDialog builtin SSLSessionCache dbm:/web/httpd/logs/ssl_scache SSLSessionCacheTimeout 300 SSLMutex file:/web/httpd/logs/ssl_mutex SSLRandomSeed startup builtin SSLRandomSeed connect builtin SSLLog /web/httpd/logs/ssl_engine_log SSLLogLevel info </IfModule> <VirtualHost *:443> DocumentRoot /home/leelab/public_html ServerName www.leelab.co.kr ServerAlias www.leelab.co.kr ServerAdmin root@leelab.co.kr ErrorLog logs/leelab.co.kr-error_log TransferLog logs/leelab.co.kr-access_log SSLEngine on SSLCertificateFile /web/httpd/conf/ssl/leelab.crt SSLCertificateKeyFile /web/httpd/conf/ssl/leelab.key SSLCACertificateFile /web/httpd/conf/ssl/QuickTrustSSL_Bundle.crt <Files ~ ".(cgi|shtml|phtml|php|php3?)$"> SSLOptions +StdEnvVars </Files> <Directory "/home/leelab/public_html"> SSLOptions +StdEnvVars </Directory> SetEnvIf User-Agent ".*MSIE.*" nokeepalive ssl-unclean-shutdown downgrade-1.0 force-response-1.0 CustomLog /web/httpd/logs/ssl_request_log "%t %h %{SSL_PROTOCOL}x %{SSL_CIPHER}x "%r" %b" </VirtualHost> 위 내용중 기본으로 제공하는 것에서 몇가지만 수정하자. SSLCertificateFile /web/httpd/conf/ssl/leelab.crt SSLCertificateKeyFile /web/httpd/conf/ssl/leelab.key 테스트을 위해 만든 인증서를 연결하는 부분이다. [root@www extra]# cd /web/httpd/conf/ [root@www conf]# vi httpd.conf (생략) # Virtual hosts # Include conf/extra/httpd-vhosts.conf # Secure (SSL/TLS) connections Include conf/extra/httpd-ssl.conf (생략) 와 같이 주석을 수정한다. 4. 실행 아래와 같이 실행하면 암호를 입력하라는 메시지가 나타난다. 암호를 입력하면 서버가 동작하게 된다. [root@www conf]# /web/httpd/bin/apachectl start Apache/2.2.22 mod_ssl/2.2.22 (Pass Phrase Dialog) Some of your private key files are encrypted for security reasons. In order to read them you have to provide the pass phrases. Server www.ikunsan.co.kr:443 (RSA) Enter pass phrase: (암호입력) OK: Pass Phrase Dialog successful. [root@www conf]# VirtualBox의 경우 외부에서 접속할 수 있게 방화벽에서 해당 포트를 열어야 한다. [root@www conf]# cd /etc/sysconfig [root@www sysconfig]# vi iptables
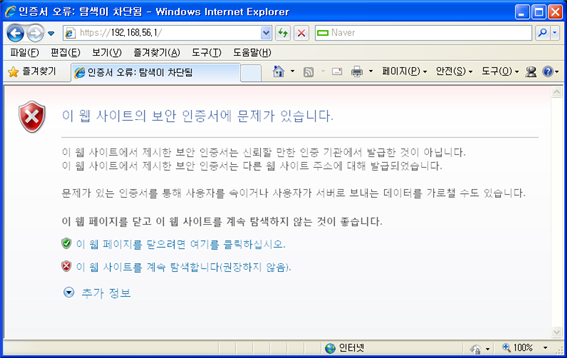
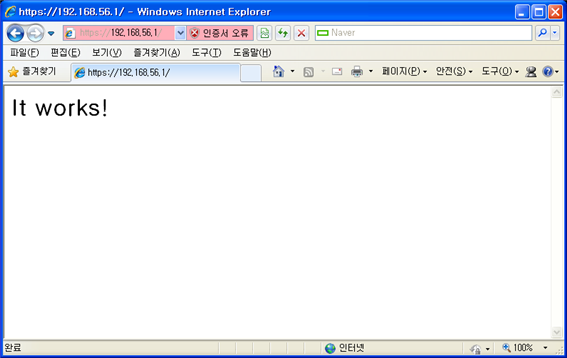
-A INPUT -m state --state NEW -m tcp -p tcp --dport 443 –j ACCEPT 위와 같이 추가한다. 웹브라우저를 통해 확인해 보자. http://192.168.56.1:443 또는 https://192.168.56.1 로 접속해보자.
“이 웹 사이트를 계속 탐색합니다.” 를 클릭한다.
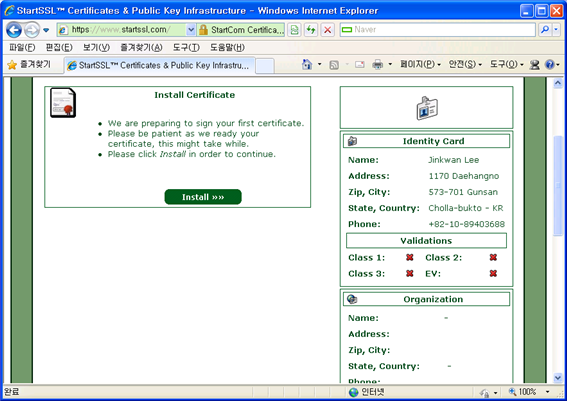
#/web/httpd/bin/apachectl start 시 암호 입력없이 실행하기 위해 아래와 같이 파일을 만든다. [master@www ~]# cd /web/httpd/conf/extra/ [master@www extra]# vi httpd-ssl.conf (생략) SSLPassPhraseDialog exec:/web/httpd/bin/sslpw (생략) SSLPassPhraseDialog build -> SSLPassPhraseDialog exec:/web/httpd/bin/sslpw 으로 변경하고 /web/httpd/bin/sslpw에 아래내용을 넣는다. [root@www ssl]# cd /web/httpd/bin/ [root@www bin]# vi sslpw #!/bin/sh echo password(ssl시작시암호) [root@www bin]# chmod 755 sslpw [root@www bin]# /web/httpd/bin/apachectl stop [root@www bin]# /web/httpd/bin/apachectl start [root@www bin]# 암호를 묻지 않고 아파치 웹서버가 동작하게 된다. 5. 서버 인증서 받기 이어서 startssl.com에서 인증서를 신청하고 10분정도 기다리면 메일이 하나 더 왔을 것이다.
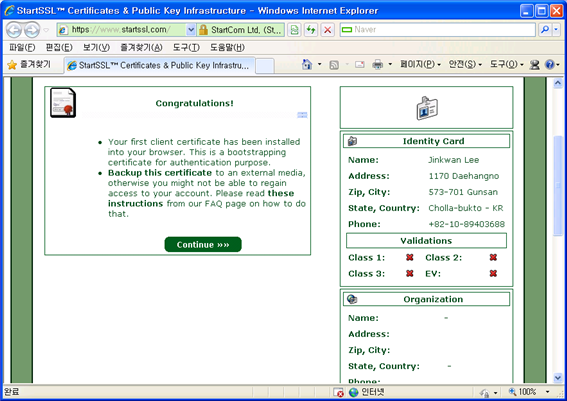
링크를 클릭하면 아래와 같은 화면이 나타난다. 메일에서 인증키를 복사하고, Continue를 클릭한다.
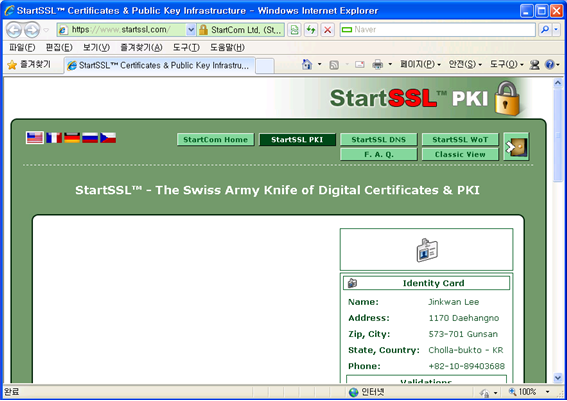
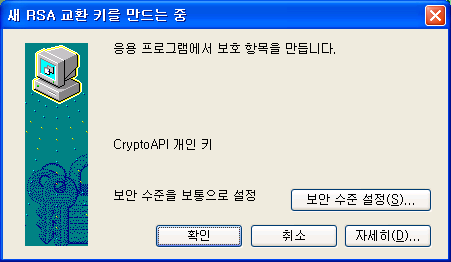
가. 로그인 하기 Control Panel 화면에서 Athuenticate (녹색버튼) 버튼을 눌러 진행을 합니다. 그러면 디지털 인증서 선택 화면이 뜨게 되어 있습니다. 개인키 (우리나라 사이트의 공인인증서라고 생각하시면 됩니다.)를 선택할 수 있는 창이 뜨게 되어 있습니다. 계정을 인증할때 발급을 받은 인증서를 선택하여 줍니다.
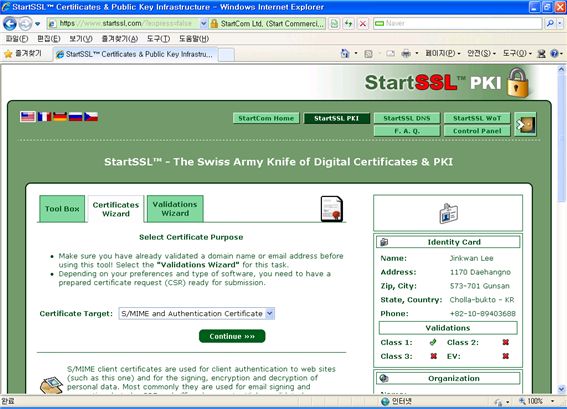
우측 아래로 내려가면 Set Your OpenID를 클릭한다. 그리고, 도메인에 ssl 인증서로 사용할 목적인 경우에는 도메인소유자의 이메일주소가 필요하며, 인증을 모두 받아서 정상적으로 로그인하면 아래와같은 제어판을 사용가능 합니다. 발급과정에서 획득되는 key 와 crt 파일을 이용해서 웹서버에 SSL 인증을 위한 준비를 진행합니다. 나. 계정 인증하기 우측을 보면 이메일 인증 내용이 보인다. 인증이 되지 않았다면 아래와 같이 하여 인증절차를 거친다. Control Pannel 에 들어가시면 Certificates Wizard 가 있습니다. 이곳에서 S/MIME and Authentication Certificate 를 선택하여 진행합니다. (우리나라의 공인인증서 발급과 동일하다고 생각하시면 됩니다.)
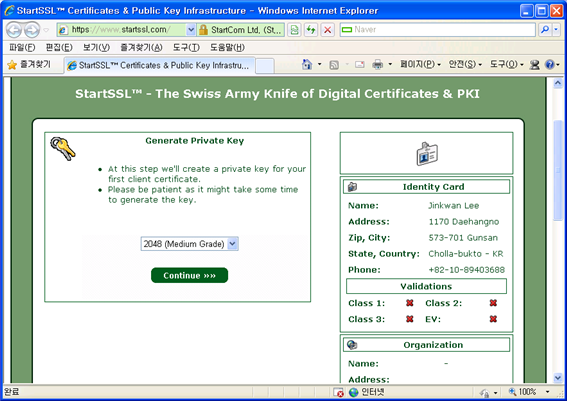
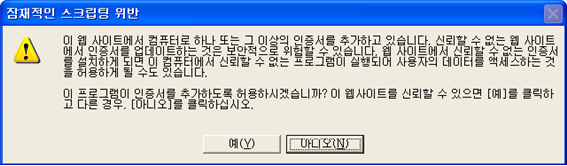
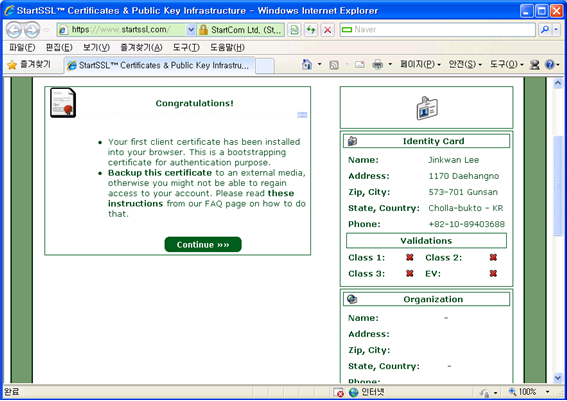
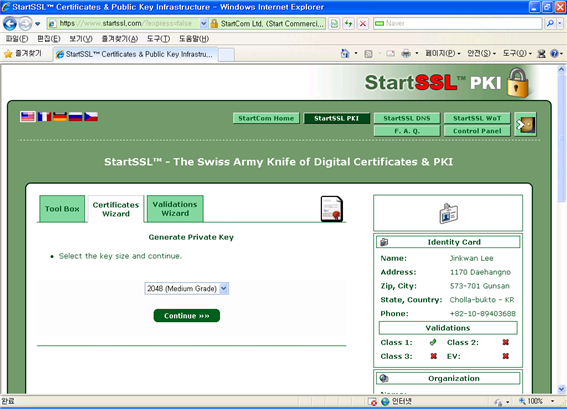
발급을 진행하면 키 의 길이를 선택할 수 있는 화면이 나오는데 2048과 4096bit의 키길이를 발급 받을 수 있습니다. 이제 인증서를 브라우저에 추가 하면 계정이 인증 됩니다.
예(Y)를 클릭한다.
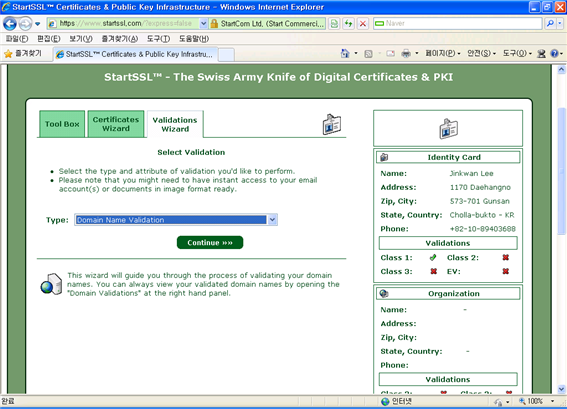
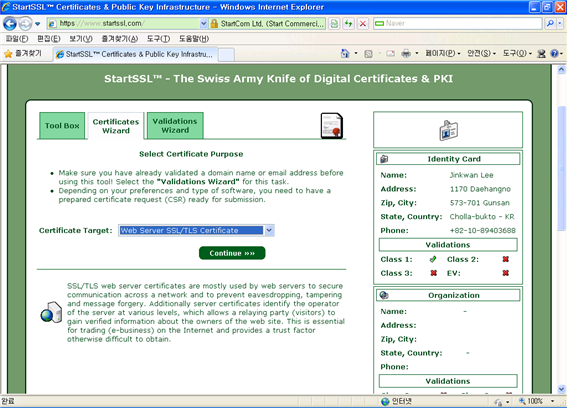
Web Server SSL/TLS Certificate 를 선택을 하여 Domain 에 대한 인증서를 발급합니다
메일을 확인하면 확인코드가 도착했을 것이다. 복사하여 붙여넣기 한다.
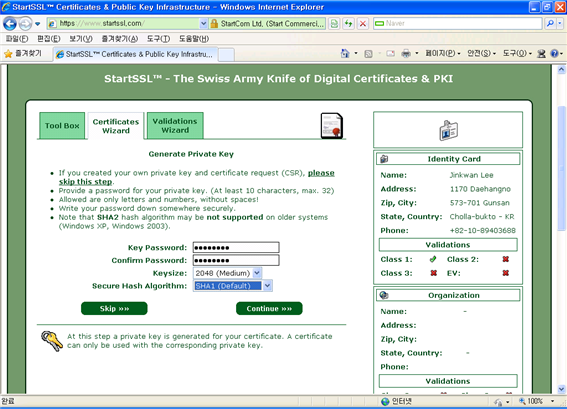
Skip을 클릭한다.
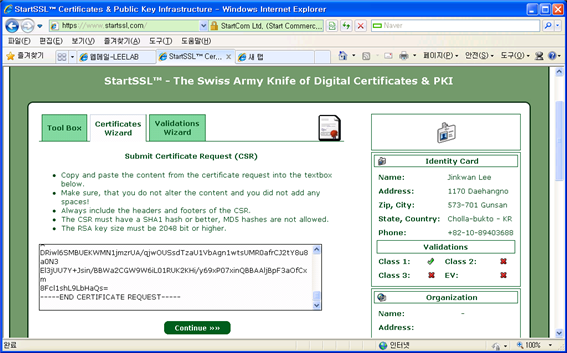
터미널 창에서 csr의 값을 붙여넣기한다. # cat /web/httpd/conf/ssl/leelab.csr -----BEGIN CERTIFICATE REQUEST----- (생략) -----END CERTIFICATE REQUEST-----
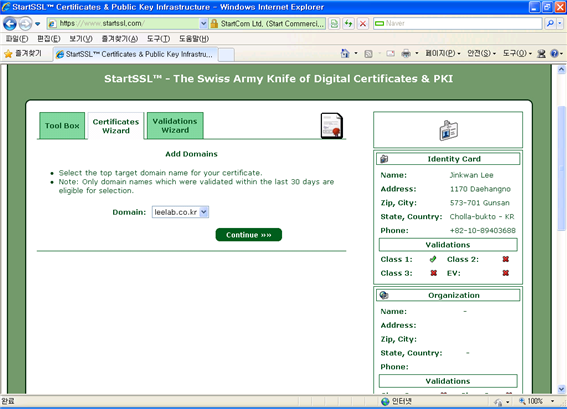
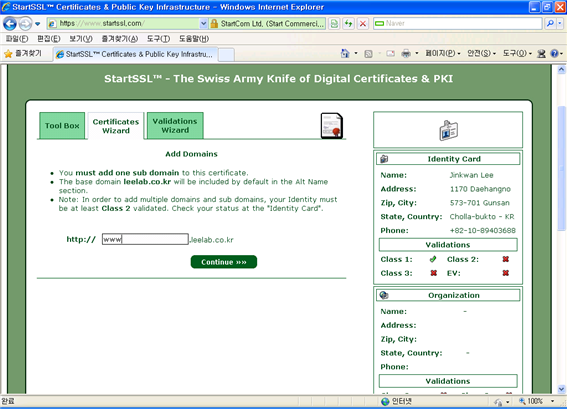
도메인을 선택한다.
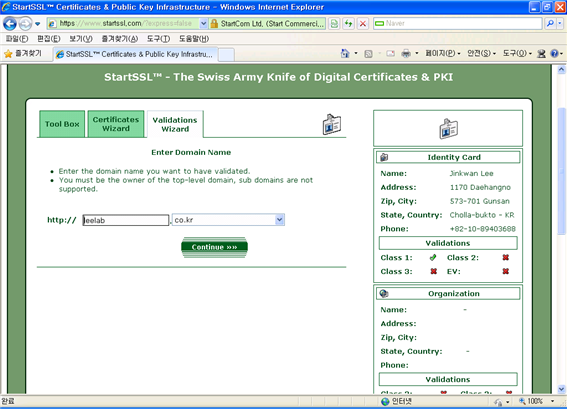
호스트를 입력한다.
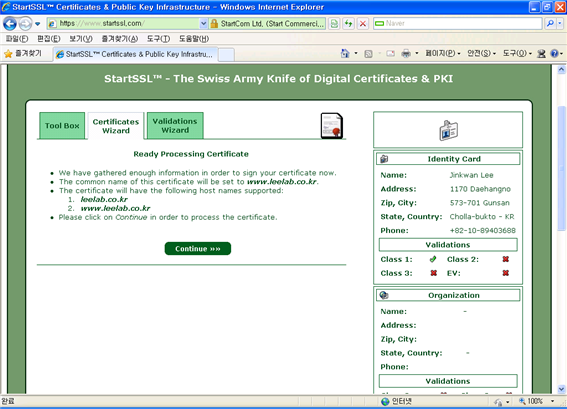
터미널 창에서 # vi /web/httpd/conf/ssl/leelab.crt -----BEGIN CERTIFICATE REQUEST----- (생략) -----END CERTIFICATE REQUEST----- 텍스트 박스에 있는 내용을 복사하여 붙여넣기 한다. 비밀키와 마찮가지로 메모장이나 Vi등으로 공백없이 저장하고 확장자는 crt로 저장한다. 자 이제 인증서에 대한 발급은 끝났다 이제 서버를 셋팅하자. * 중요한것은 인증서는 1개의 호스트에 1개의 인증서만 발급이 된다는 것이다. 예를 들어 모든 호스트(*.)에 대한 인증서는 발급이 안된다 ^^
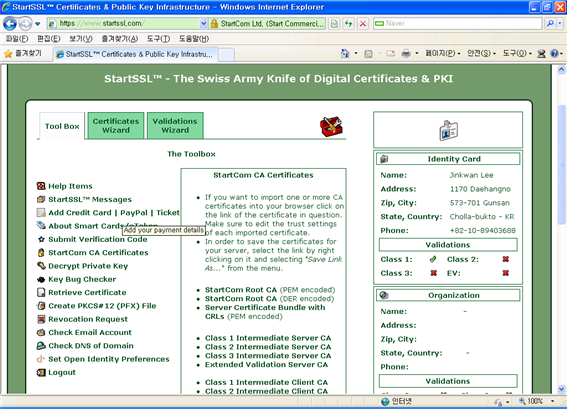
“Class 1 Intermediate Server CA“를 다운 받아 서버에 올린다. 이제 준비는 끝났다. 웹서버를 설정해보자. # cp sub.class1.server.ca.cer /web/httpd/conf/ssl 해당 폴더에 복사한다. # vi /web/httpd/conf/extra/httpd-ssl.conf <VirtualHost _default_:443> DocumentRoot [SSL 이용시 document root] ServerName ssl.lovelgw.com:443 [도메인] ServerAdmin [관리자 이메일] <Directory "/web/httpd/htdocs"> Options FollowSymLinks AllowOverride None Order allow,deny Allow from all </Directory> SSLEngine on SSLCertificateFile "/web/httpd/conf/ssl/leelab.crt" [인증서] SSLCertificateKeyFile "/web/httpd/conf/ssl/leelab.key" [비밀키] SSLCertificateChainFile "/web/httpd/conf/ssl/sub.class1.server.ca.crt" [CA 의 인증서] </VirtualHost> 위와 같이 수정하시면 SSL 설정이 마무리 됩니다. 죄종적으로 apachectl configtest 에서 Syntex OK 를 확인 하신 후에 재 시작 하시면 됩니다. 최종적으로 apache를 재시작 하시면 됩니다. # /web/httpd/bin/apachectl start Some of your private key files are encrypted for security reasons. In order to read them you have to provide us with the pass phrases. Server new.host.name:443 (RSA) Enter pass phrase: ****** [엔터] 서버 인증서의 비밀번호를 입력하여 Apache를 실행해 주시면 됩니다. 웹브라우저를 통해 확인해 보자. |
| [목차] |